Tensile Structure Guide
Tensile Structure Installation Process: Step-by-Step Timeline
From site survey and engineering to foundations, fabrication, membrane tensioning and handover.
Quick answer: A small canopy may move from approved design to installation in roughly 1–2 weeks when materials and foundations are ready; a large project often needs 4–8 weeks or more. The real programme depends on engineering, approvals, procurement, civil work, access and weather.
1. Survey, concept and quotation
The team records dimensions, levels, access, existing structures, utilities, drainage, soil information and operating constraints. A concept defines coverage, support positions, high and low points and appearance. Early drawings should be checked against vehicle movement, doors, fire access and neighbouring property.
The quotation then identifies scope and assumptions. Client decisions on material, colour, interfaces and budget allow engineering to proceed. Changes after fabrication starts can affect patterns, steel and foundations, so key geometry and responsibilities should be approved in writing.
2. Engineering, patterning and fabrication
Structural analysis establishes design actions, member sizes, connections, cables and foundations according to the project basis. Form-finding and membrane patterning translate the three-dimensional surface into compensated panels that achieve the intended pretension after installation.
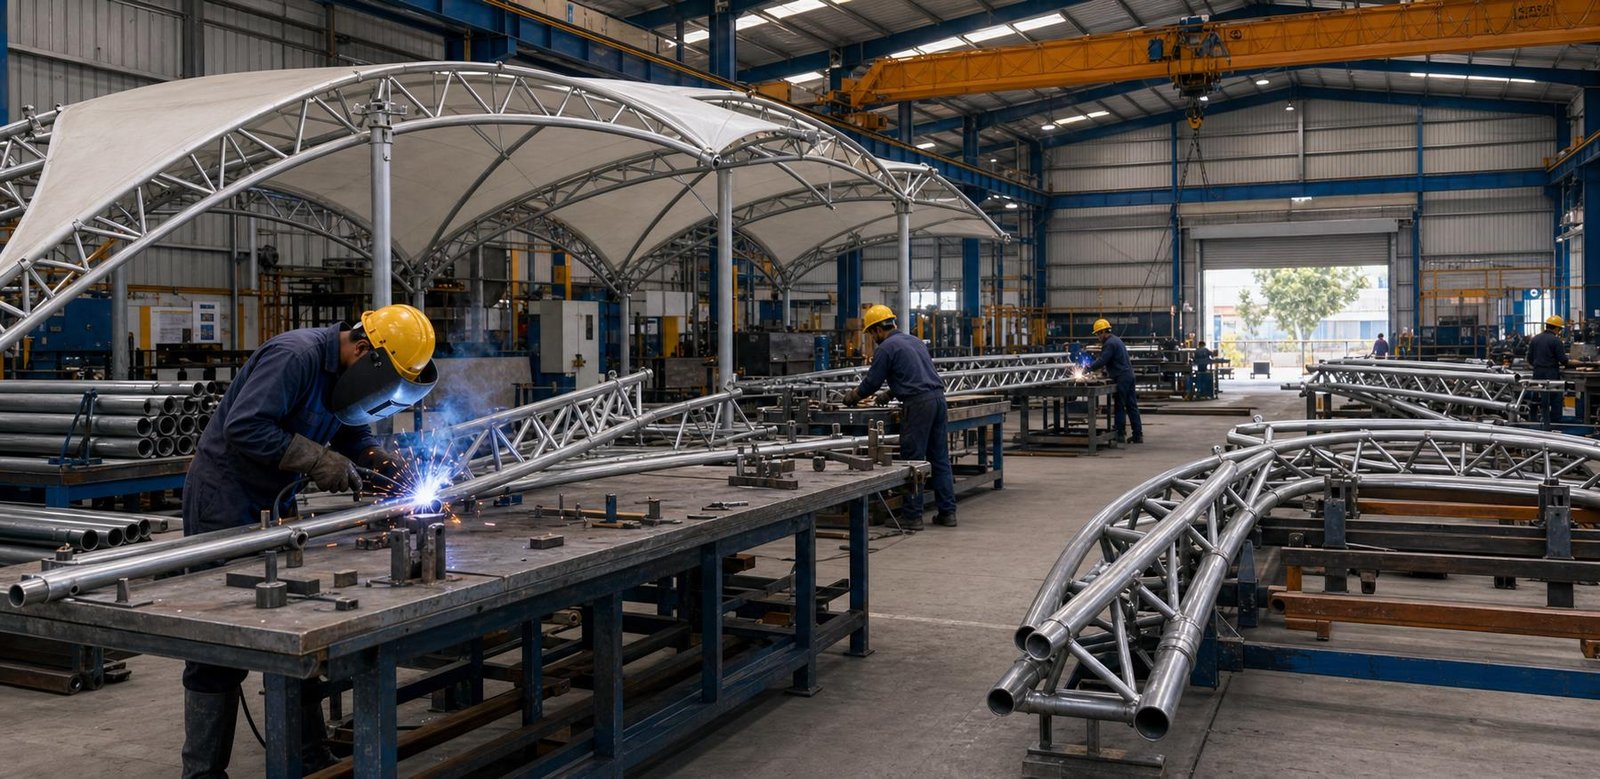
Steel is cut, formed, welded, trial-fitted where necessary and protected with the specified paint or galvanizing system. Membrane panels are cut and welded in controlled conditions. Quality records may include material certificates, dimensions, weld inspection, coating checks and panel identification.
3. Foundations, erection and tensioning
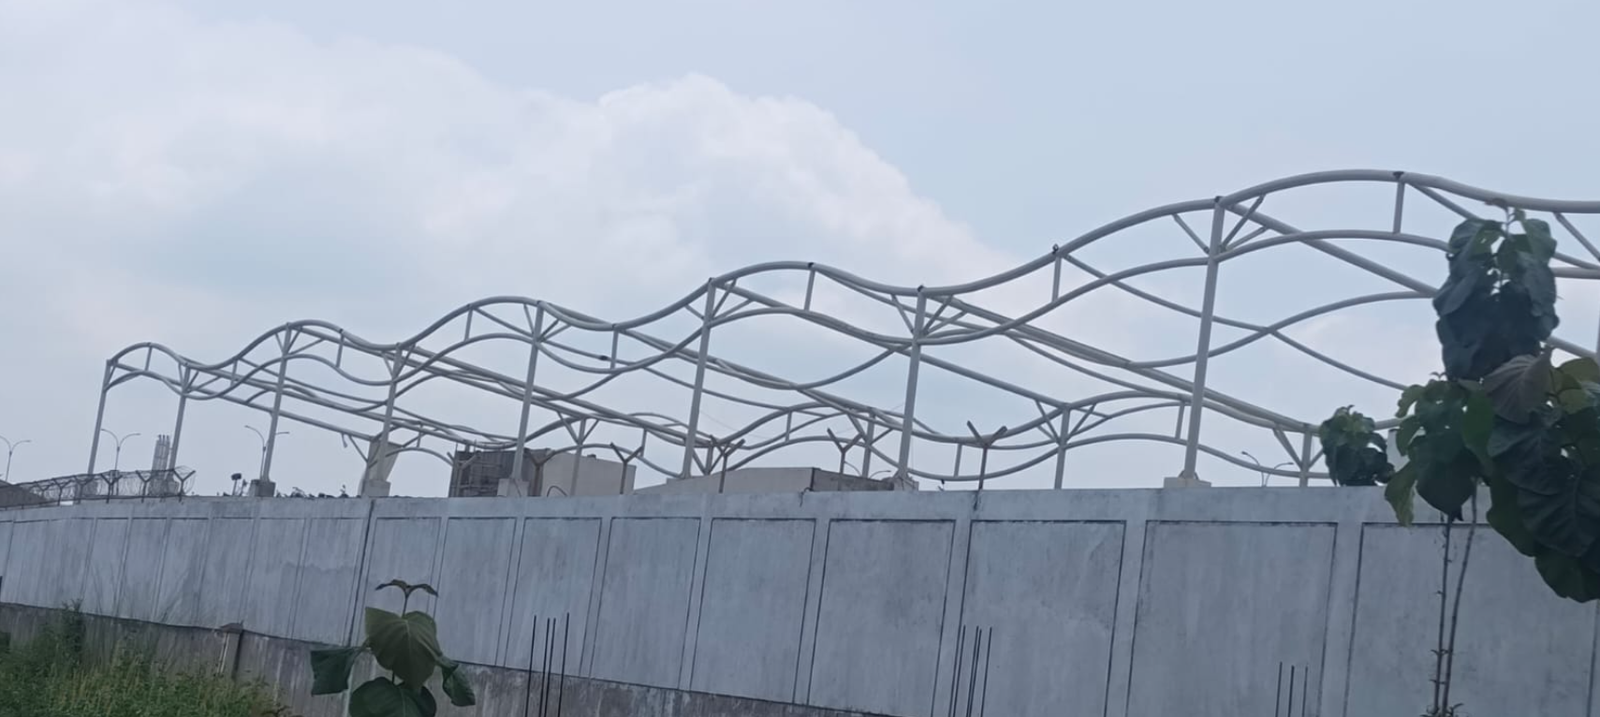
Civil teams set out foundations and anchor bolts before erection. Concrete must achieve the required readiness. Steel components are delivered in an installation sequence, lifted, aligned and connected. Temporary bracing remains until the stable system is complete.
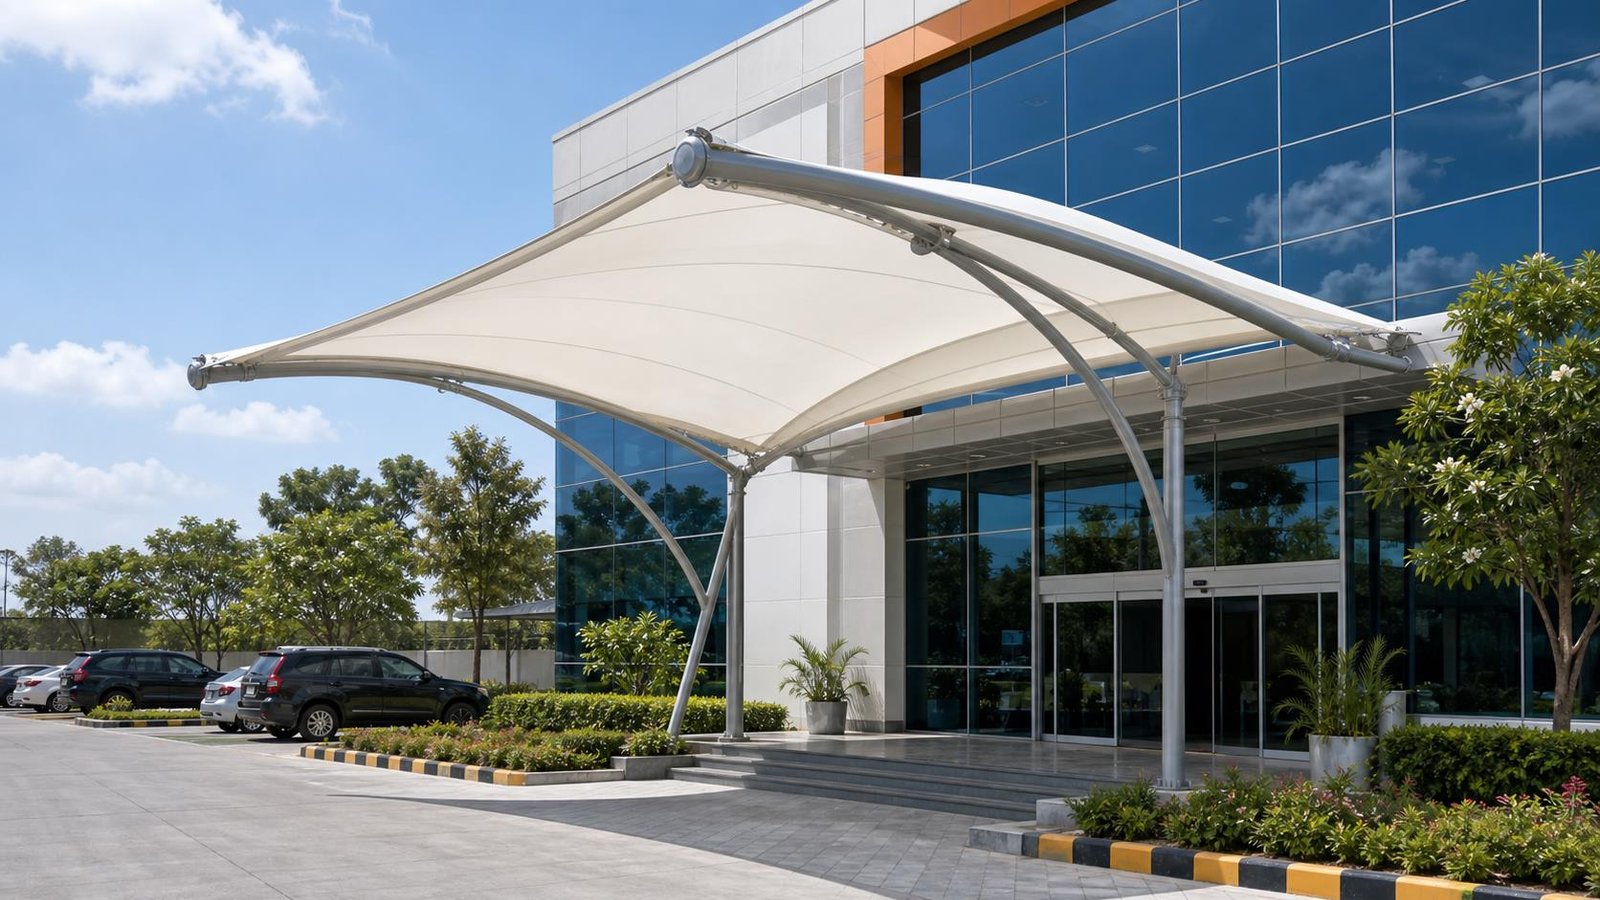
The folded membrane is protected from dirt and sharp surfaces, positioned, connected and gradually tensioned in a planned sequence. Installers check symmetry, wrinkles, edge hardware and low-point drainage. Final tension develops over controlled passes rather than one aggressive pull.
4. Inspection and handover
The completion review covers alignment, connections, membrane appearance, drainage, coatings, sealants and site restoration. Water testing may be appropriate where practical. Snags are documented and closed before handover.
The owner receives agreed drawings, product data, warranties and maintenance instructions. Staff should understand inspection after storms, cleaning limits, drainage care and restrictions on later attachments. Good records make future repair or membrane replacement easier.
How to plan your project
Start with the use case rather than a material name. Record the covered dimensions, clear height, column restrictions, pedestrian or vehicle movement, drainage path, nearby buildings and installation access. Share site photographs and a basic layout, then arrange a physical survey before freezing the quotation. A responsible proposal should state what is included: design basis, fabric or cladding specification, structural steel, foundations, drainage accessories, coating, transport, lifting, installation, taxes and warranty.
Budget comparisons are meaningful only when the scope is equal. One quote may exclude foundations, edge cables, gutters, crane access or painting while another includes them. Ask each bidder to identify material brand and grade, membrane weight or roof thickness, steel specification, corrosion-protection system, design wind criteria and exclusions. Do not select a permanent outdoor structure only by the lowest per-square-foot figure.
The normal delivery sequence is requirement review, site measurement, concept, budget confirmation, engineering, client approval, procurement, workshop fabrication, foundation preparation, dispatch, installation and final inspection. Weather and civil readiness can affect the schedule. Keep drawing approvals and change requests in writing, confirm who coordinates electricity or equipment at site, and provide a safe storage and working area for the installation team.
Maintenance should be planned at handover. Preserve material certificates, drawings, warranties and photographs. Inspect the structure after severe weather and at routine intervals for blocked drains, loose hardware, coating damage, abnormal deflection, membrane abrasion or water ponding. Cleaning products and access methods must suit the selected surface. Repairs should be assessed early; unapproved drilling, welding or attachment of signage can change loads and invalidate warranties.
Engineering, approvals and lifecycle value
An outdoor roof is a structural system, not only a fabric or cladding purchase. The responsible project team should define design wind actions, imposed loads, drainage assumptions, support reactions and foundation criteria for the actual location. Soil conditions, neighbouring roofs and terrain exposure can change the engineering. Architectural drawings, structural calculations and statutory submissions should be coordinated by qualified professionals as required by the local authority and project type. Product marketing figures cannot replace project engineering.
Lifecycle value includes how reliably the roof performs, how easily it can be inspected, and what eventual repair or replacement requires. A slightly higher initial specification may be sensible when access is difficult, downtime is costly or appearance is business-critical. On the other hand, a straightforward, replaceable PVC membrane may be the rational choice for a modest canopy. Document the decision, expected service conditions, warranty limitations and maintenance responsibility so the owner understands both the benefit and the continuing obligation.
For a site-specific recommendation, review our tensile structure installation services service page or request a site visit. Maasidhi Catalyers works across Delhi, Haryana, Odisha and other Indian locations according to project scope and site readiness.